Bacon, Spinach and Goat Cheese with Spaghetti Squash: The Perfect Meal to Bring in Fall

Bacon Spinach and Goat Cheese Spaghetti Squash

I love Fall!  No, really, it is, by far, my favorite season.  I love everything about it – the cozy clothes, the crisp air, the warm colors, the delicious smells and the food.

To be fair, we don’t really get fall until October here in Coastal North Carolina – we’ve got at least another month of 80 degree weather – but I’m all about starting early.  I mean, even Starbucks will have their Pumpkin Spice Lattes back at the beginning of September!

I made this dinner earlier this week and, besides being a HUGE hit with my husband, it screamed Fall Flavors to me!  This is one meal that will certainly be entering the rotation on a consistent basis.  And the best part, it’s gluten free and fairly healthy – I mean, as healthy as bacon can be!

Ingredients:

  • 2 medium to large spaghetti squashes
  • 1 package of bacon (mine was 12oz but I’ve seen some as big as 16oz – honestly, either will work)
  • 10oz of spinach
  • 2 Tbsp balsamic vinegar
  • 2 1/2 Tbsp maple syrup (use the good stuff)
  • 1 tsp dried thyme
  • 8oz of goat cheese
  • Salt and Pepper

Start by cooking your spaghetti squash.  There are several ways to do this.  I prefer to put each squash in the microwave for 3 minutes each.  After that I slice with a knife and place seed side down on a baking dish lined with foil.  I roast at 375 degrees for 30-40 minutes.  Once they are cooked I remove, flip over and let cool.

Chop your bacon into 1 to 2 inch pieces and cook over medium high heat until crispy and then lower the head slightly to render off the rest of the fat – about 4-5 minutes to crisp and another 5 or so to fully cook.

IMG_3193

Add the balsamic vinegar and scrape up any bits from the bottom of your pan.  The bacon grease will most likely splash up at this point, so be careful!

Stir in the maple syrup and the thyme and cook for about 45 seconds or so.

Begin adding your spinach in batches.  Cook until wilted and there is more room in your pan before adding more.

IMG_3194

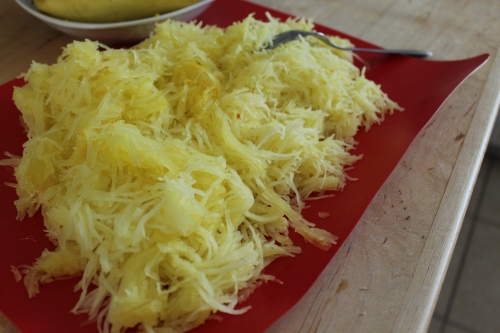
While I was doing that I was multi-tasking and scrapping my squash into “noodles” with a fork (remove the seeds and discard first).  I laid them out flat on a cutting board and salted at this point too.

IMG_3196

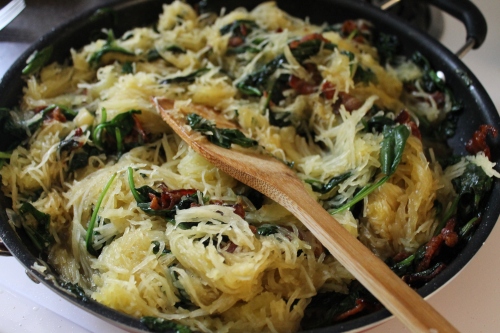
Once the spinach has all been added and wilted, add in your squash and stir.

IMG_3198

Lastly add in the goat cheese and stir to combine.

IMG_3200

Serve immediately and be prepared for the praise – this meal is delicious!

IMG_3205

**I got the original recipe from Buzzfeed and you can find it here.

DIY Dish Towel Apron

Have I really taken another summer “off” from the blog?  How do I keep doing this?  Well, to be fair, we had some pretty exciting things happen this summer!

There was this:

Baby 2.0 annoucement2

And then just a few days ago, this:

IMG_2405

But now that I feel more human and I actually have a bit of energy left over at the end of the day after chasing Lucas around all day I feel like I’m ready to get back to it.

This first post back isn’t super exciting, but something I worked on back in FEBRUARY!

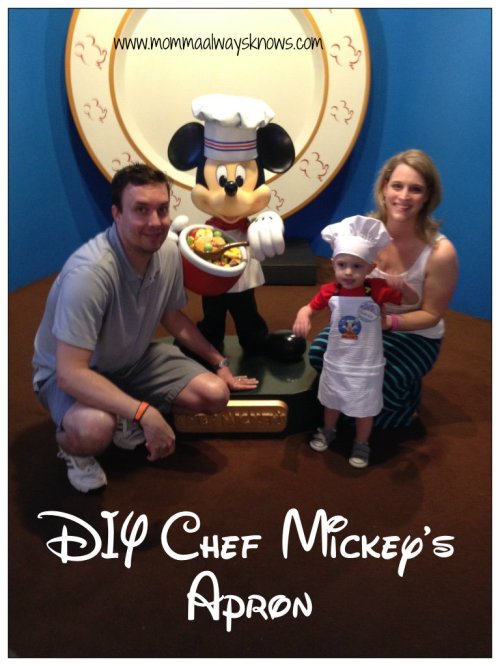
In case you didn’t know, we love Disney in our house.  Okay, I love Disney and Lucas loves Disney but Daddy isn’t a huge fan!  He puts up with it though because it makes his wife and son happy and that’s what matters.  We took Lucas back to Disney World for his 2nd birthday and had a dinner at Chef Mickey’s planned.  I wanted a cute outfit for him to wear but wasn’t sure what to do (and I didn’t want to spend a million dollars).  That’s when I found this dish rag (yes, you read that right) on clearance at Target and this was how our Chef Micky’s outfit was born.  It will actually be heading back to Walt Disney World with us in September when my mom and I take Lucas for his third visit.

Honestly, this was the easiest project and cost under $5.  We haven’t used it as his apron when we cook together at home (because I’m trying to keep it in good condition for our next trip but once we come back it will probably be what we use for cooking.  And it’s made so it can kind of grow with him, which I like.

**Disclaimer:  This was the first time in like a year or maybe two that my sewing machine had been out – I was feeling pretty rusty and the stitches are NOT the best.

  • Here is what you’ll need:
  • Dish Towel
  • Ribbon
  • Scissors
  • Thread
  • Sewing Machine

(Or skip the thread and sewing machine and use the no sew iron tape)

IMG_2477

First I ironed out the wrinkles from the towel (this is my least favorite part and I never do the best job).

Next I held the towel up to Lucas and measured down to where his armpits are and did a simple corner fold.  I gave us a little room to grow (it’s higher on him now than it needs to be). I did a simple stitch about 1 inch away from the diagonal fold on the outside edge

IMG_2479

Then I cut along the stitching to get rid of the extra fabric.


IMG_2481

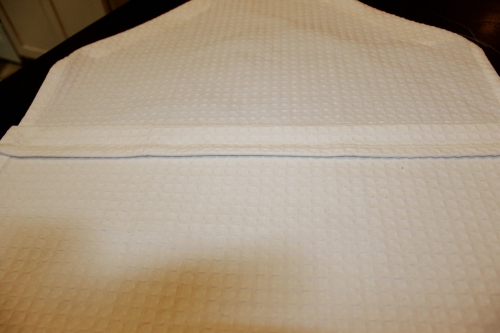
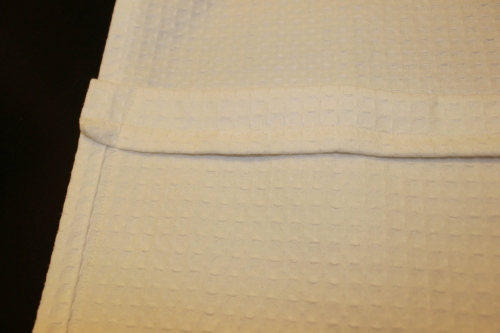
I wanted to add a pocket so it was just a simple fold up at the front of the apron.  I sewed both sides together.  I wanted to get a little “fancy” so I added the fold over back down at the top.

IMG_2482

IMG_2484

After that you just thread the ribbon through the folded down corners – I didn’t even tie it off at the ends, but you can if you’d like.

IMG_2485

After that all I needed was the Chef Mickey’s logo, which I found online and did a reverse image of to print onto iron on transfer paper.

Two minute later and this was our final product:

thumb_IMG_1684_1024

Lucas was just he cutest little Chef at our Chef Mickey’s dinner this past February and I can’t wait for him to wear this again in September!

DIY Chef Mickeys Apron