For the past few years we have done a Christmas gift exchange with both of D’s brothers and their wives. We’ve always given some sort of date night (movies, coffee, etc.) and I was hoping to do something a little different this year.
We pulled D’s younger brother and wife this year who just moved their family from NC to Asheville and are in the process of buying a new home. I thought doing something they could use in the new house would be a nice change of pace from past gifts. After a night of playing on Pinterest from 3-5am (thanks L!) I found a pin for etched glass canisters. I figured that would be the perfect housewarming/Christmas present. They are very simple and clean (much like my SIL’s aesthetic), practical for a new home, and, most importantly, made with love!
The project was really simple and turned out really well so I thought I’d share it with all of you, just in case anyone else finds themselves in a gift rut!
Here were the supplies I bought:
- Set of 4 GLASS canisters
- 1/2 self-stick letters
- Masking tape (not sure how I didn’t have this on hand!)
- ArmourEtch etching cream
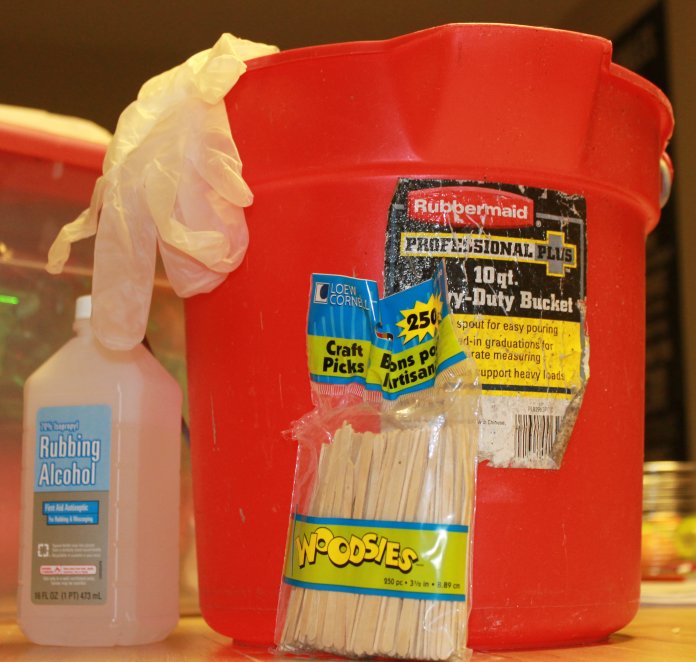
And the other supplies I had on hand:
- Rubbing alchol
- Craft sticks
- A big bucket
- Gloves (the cream is caustic and you want to avoid any contact with your skin)
I started by cleaning the glass canisters with the rubbing alcohol and then wiping an excess liquid off.
Then I applied the stickers and the masking tape to create the area to apply the etching cream. You can make the area as big or as small as you like and align the wording anywhere you please. I like the wording closer to the top and a large area below etched.
After I verified the spelling about 10 times (I even asked D how to spell “tea”) I was ready to etch. I read the directions on the bottle of etching cream I bought. They said to only leave the product on for one minute but all the blogs I had read suggested at least 5 minutes. The directions also said that rising the cream in a porcelain sink will damage it. We don’t have stainless steel sinks so I decided to rinse into a bucket and then dump the water in the toilet.
I did a lot of Google research as well. One tip that I found to be really helpful and wanted to make sure to pass along was instead of a brush, use a craft stick (or popsicle stick). It allowed me to apply a really thick, even layer – this is key to making sure the etched area doesn’t have flaws.
So, applied a thick layer of etching cream and set the timer for 5 minutes. Every 90 seconds I used the craft stick to swirl the cream around (this removes any air pockets and ensures the entire surface is well covered).
When my five minutes were up I rinsed the canister into the bucket (using a gloved hand to completely remove the cream). I took the tape and stickers off and then rubbed a bit more alcohol over the area to make sure all of the sticky residue was removed.
I repeated those steps for the remaining canisters. And this was the end result!
A close up:
I decided to fill the coffee canister with some small bags of Starbucks coffee and a Starbucks gift card. My sister-in-law loves coffee so I figured even if the canisters bombed she’d enjoy part of her gift!
This is a really simple, but impressive, gift idea or for a fun addition to your kitchen.
If you try this project, let me know how it turns out!


